Hello to the NRHS Community,
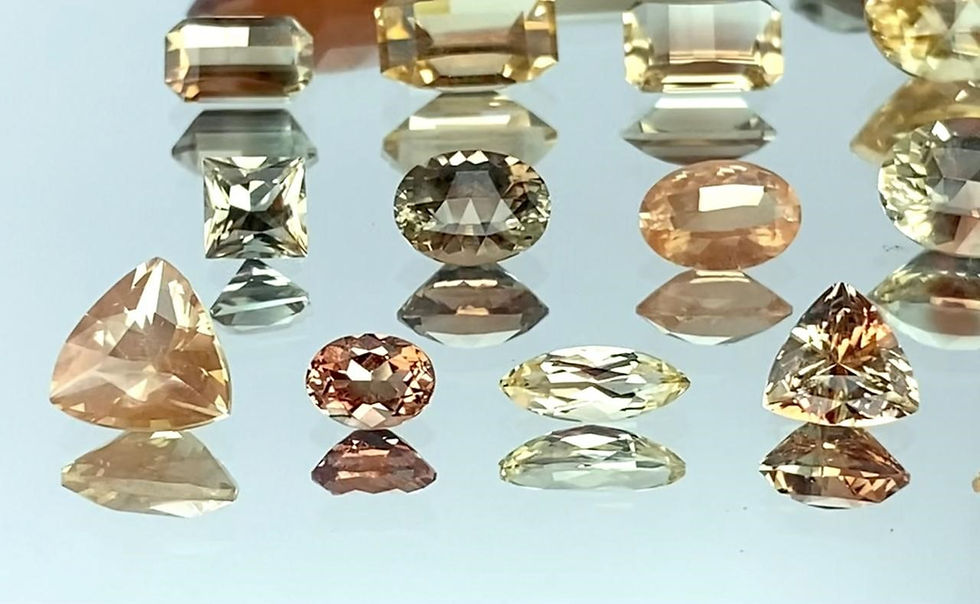
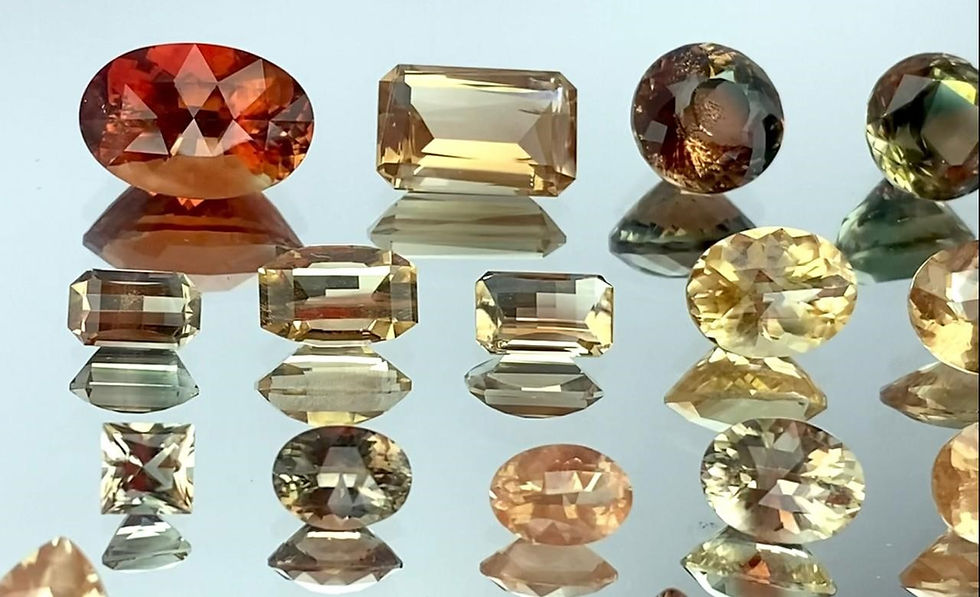
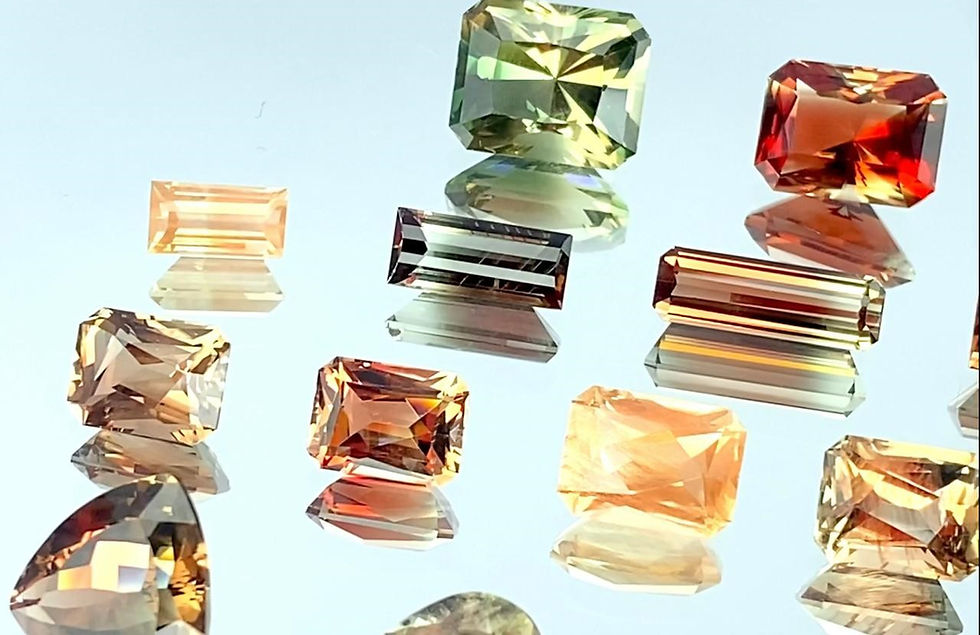
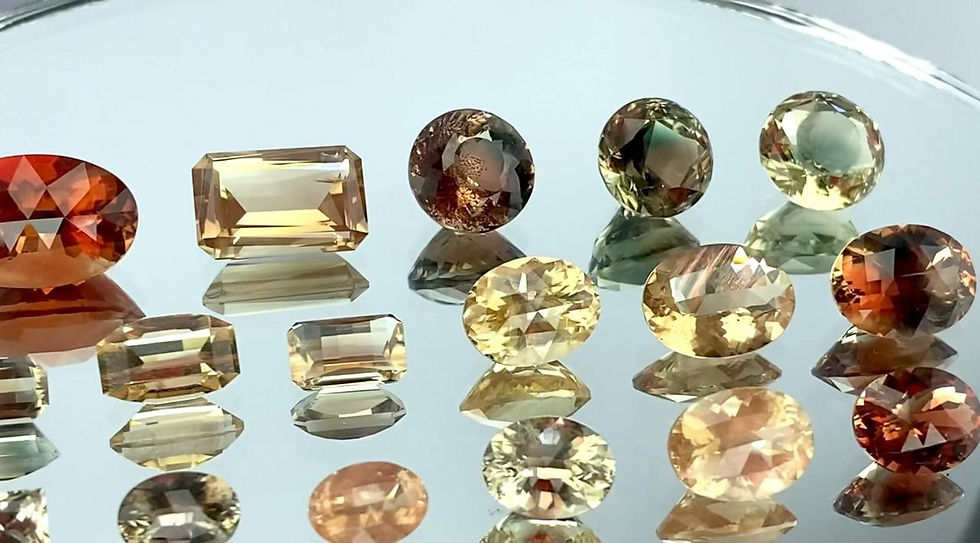
Today, I’ll walk you through how we process and cut Oregon Sunstones that were sent to us by a customer from Washington, USA. We follow a precise process to ensure the highest quality and best results for the stones
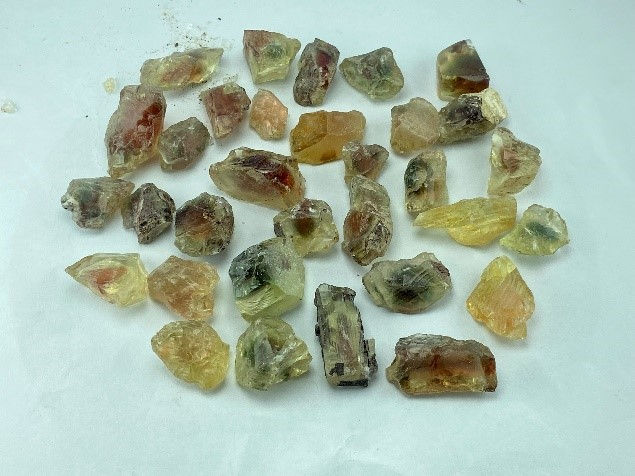
Step 1 – Rough Evaluation
First, our master cutters carefully assess each rough sunstone. This involves evaluating the size, clarity, and any visible features such as cracks or inclusions. Oregon Sunstones, in particular, may contain inclusions like copper platelets, which give the stones their distinctive shimmer (also known as "schiller"). These inclusions affect both the visual appeal and how the stone should be cut.
In some cases, the customer provides specific instructions on how they want the stone cut, such as the desired shape and style. For this order, however, the customer has given us the freedom to select the best cut based on each stone's natural characteristics. Our goal is always to maximize both beauty and yield.

Step 2 – Slicing
When the rough stone contains significant flaws, such as cracks or large inclusions, it may need to be sliced into smaller, more manageable pieces. For example, if a crack runs through the stone, we may slice along the crack to create two clean pieces. This is important because inclusions and cracks can weaken the stone or negatively affect its appearance.
We use precision diamond saws for slicing, which allows us to make clean cuts without damaging the material. The slicing process helps to optimize the amount of usable material from each stone.
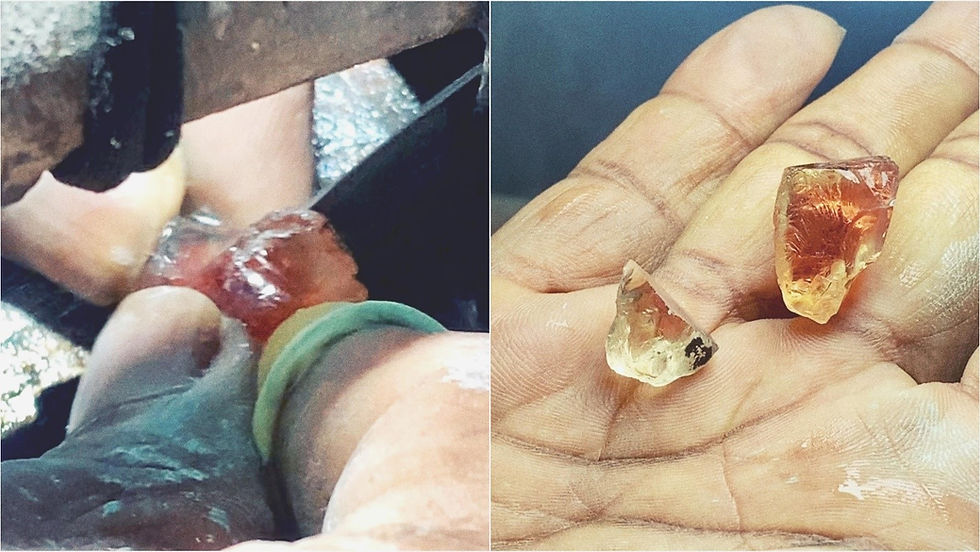
Step 3 – Pre-Shaping
After the stones are evaluated and sliced, we move on to pre-shaping. This step involves forming the rough into a basic shape that is best suited to the stone's natural structure and internal features. Our cutters take great care in this process, as it helps to conserve material and prepare the stone for the final stages of cutting.
We aim to reduce waste and enhance the stone's overall look by selecting the most efficient and visually pleasing shape. At this stage, the stone is not yet cut to its final design, but it is being shaped with precision to prepare for later steps.

Step 4 – Doping
Once pre-shaped, the stones are attached to dop sticks, which are tools that hold the stones securely while they are being worked on. We use wax and adhesive to mount the stone onto the dop stick, allowing our cutters to have precise control during the cutting and polishing stages without the stone loosening and falling during cutting process. This is a crucial step to ensure the accuracy of the final cut.
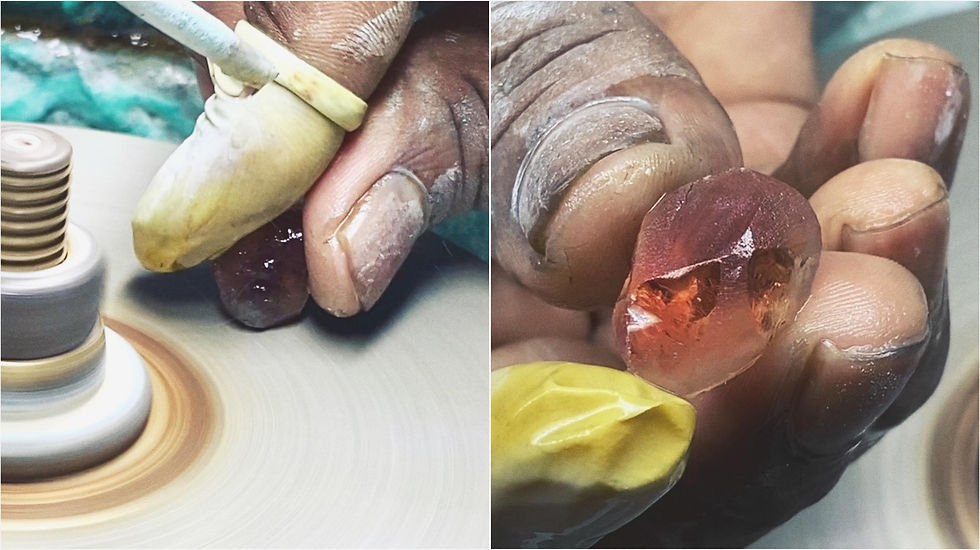
Step 5 – Shaping & Sanding
In this stage, the stones are shaped more accurately using grinding wheels, fine abrasives, and tools designed to bring the stone closer to its final form. We use different levels of grit during the sanding process, starting with coarser grit to shape the stone and then moving to finer grit to smooth out any imperfections.
The shaping and sanding process refines the stone's facets or smooths it into the desired shape, depending on whether we are cutting a faceted gem or a cabochon.

Step 6 – Polishing and Quality Control
The final stage involves polishing the sunstones to a high luster, using polishing wheels and compounds like diamond paste or cerium oxide. This process brings out the stone's brilliance, ensuring a smooth, reflective surface.
Once polished, each gemstone undergoes rigorous quality control. We inspect the stones under magnification to ensure that there are no surface imperfections or structural weaknesses, and that the stone meets high American and European cutting standards. Only after passing this check are the stones considered finished and ready to be returned to the customer.

Final Results
With the polishing and quality control complete, the sunstones are now beautiful, high-quality gemstones, ready for use in jewelry or as collectibles.


